Barry's Coilguns
Mark 5
Bus Bar Construction
Leftover copper pipe from a plumbing project can make an excellent heavy-dute bus bar. Here's how.
Straighten and Polish Copper Pipe
I had some old 3/4-inch copper pipe from some old plumbing project. It needs to be straightened, measured, cut and polished.
Straightening was done by hand, a little bit at a time to avoid kinks. I could make it straight enough to work well, but never did find any way to make it perfect. It looks good enough in this picture of the Staff of Conductivity, but you'll see in close-ups that it does meander slightly.
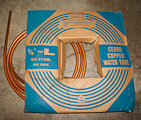

Fine-grit sandpaper is good for polishing the oxidation from copper. Be sure to wipe off the copper grit with a soft cloth, so it cannot interfere with connections later.
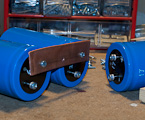
After cleaning it well, a rubber mallet hammered the pipe almost flat without leaving tool marks. Then a 24-ounce steel hammer finished the job, making the copper very flat on both sides for good metal-to-metal connections with the capacitors.
Connecting Capacitors to Bus Bar
My goal is to minimize the bus bar length and the total number of connections. Coilguns are very sensitive to even a few milliohms of resistance.
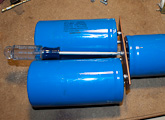
So I used a single bus bar and arranged capacitors back-to-back along both sides. The spacing is designed to leave just enough room for a long screwdriver to reach the capacitor terminals.
I think these capacitors are rated for horizontal installation. Check your own capacitor's specifications — some types require vertical installation for the electrolyte to work properly.
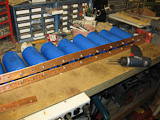


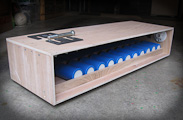
The capacitor bank is laying within two oak 1x2 strips to confine them in place. A tie-down will be added later to prevent movement during transportation.
The last picture above shows the initial cabinet assembly, with a sample projectile and external iron E-leaves to illustrate the eventual construction.
| < Previous | Page 4 of 8 | Next > |
©1998-2026 Barry Hansen